Open concept living rooms offer flexibility and spaciousness, but they demand thoughtful furniture placement to work. Without walls to define separate zones, it’s easy to end up with awkward arrangements or a disconnected feel. Whether you’re working with a newly renovated space or rethinking an existing layout, the right furniture strategy transforms an empty expanse into functional, inviting areas. This guide walks through the practical decisions that make the difference: how to assess your actual dimensions, create natural divisions, position pieces for traffic flow, and use lighting and color to anchor your design. Let’s build a layout that feels intentional and works for how you actually live.
Table of Contents
ToggleKey Takeaways
- Measure your open concept living room’s dimensions, identify fixed anchors like doorways and windows, and map traffic flow before arranging any furniture.
- Create psychological zones using area rugs, floating furniture, and visual dividers like consoles or shelving to define separate spaces without permanent walls.
- Position your sofa 8–10 feet from the kitchen to maintain breathing room, ensure dining tables have 5–6 feet of clearance on all sides, and keep pathways at least 3–4 feet wide for comfortable traffic flow.
- Use layered lighting—overhead, task, and accent lights—combined with cohesive colors and materials to unify zones while maintaining visual distinction in open concept layouts.
- Choose leggy furniture and scale pieces proportionally to avoid overcrowding; aim to keep 40–50% of your floor space open and unobstructed for a spacious, intentional feel.
- Validate your open concept living room furniture layout using painter’s tape to outline pieces on the floor before moving heavy furniture, preventing costly rearrangements.
Understanding Your Open Concept Space
Assessing Your Room Dimensions and Natural Flow
Before moving a single piece of furniture, measure your space accurately. Write down the room’s overall length and width, then identify fixed anchors: the kitchen edge, entryway, stairs, windows, and any built-ins. Note ceiling height and architectural features like columns or half walls that’ll naturally guide furniture placement.
Open concept rooms often have a “width bottleneck”, a doorway, hallway entrance, or visual line where traffic naturally funnels. Understanding this flow prevents arranging furniture that blocks sightlines or creates an obstacle course. Walk through the space as someone entering would: this reveals the natural zones and movement patterns.
Also check for electrical outlets, HVAC vents, and window placement. A sofa positioned far from an outlet makes task lighting awkward: a furniture grouping that blocks a heating vent wastes energy. These practical details make or break comfort, not just aesthetics. Take photos and measurements: they’ll anchor your decisions when options feel overwhelming.
Creating Functional Zones Without Walls
The key to open concept success is psychological zoning, using furniture grouping, flooring changes, and visual anchors to suggest separate areas without closing them off. Each zone typically serves a distinct purpose: conversation/entertainment, dining, and circulation space.
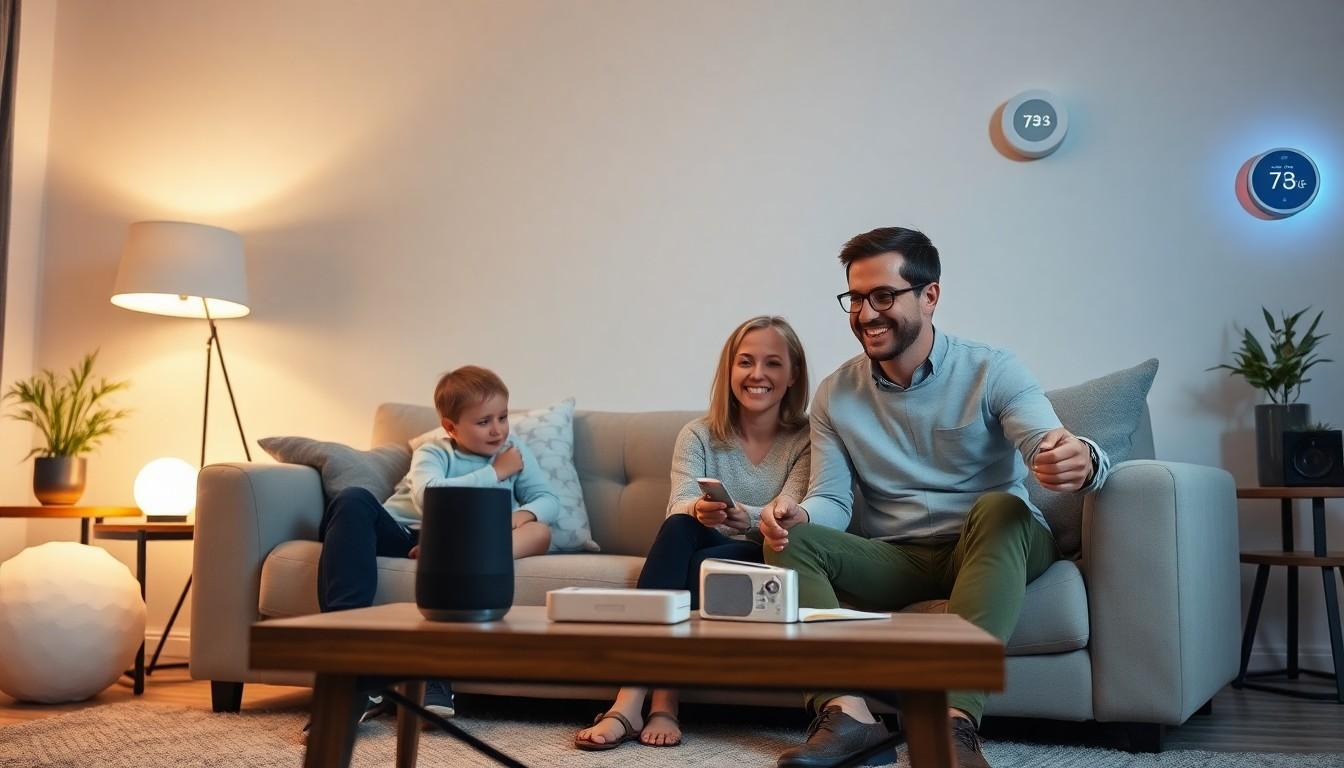
A conversation zone groups a sofa, chairs, and a coffee table into an informal triangle or U-shape. This cluster should sit about 8–10 feet from the kitchen to create breathing room and prevent the living area from feeling like an extension of meal prep space. If your open plan is truly large, a secondary seating area (like a reading nook or game table) can occupy a far corner, visually reinforced by a low bookshelf or area rug.
The dining zone works best as a distinct rectangular footprint, typically 4–6 feet away from the main sitting area. If the kitchen island serves dual duty, treat it as a buffer between cooking and living spaces. A visual divider like a low storage console, floating shelves, or even furniture itself, placing a sofa back-to-back with a dining area’s rear, defines boundaries without permanent walls.
Use an area rug as your primary zoning tool. A rug under the conversation seating anchors that zone: a separate rug under the dining table reinforces its separation. Rugs should be proportional to furniture, a rug that’s too small makes a grouping feel untethered. Most conversation rugs run 8×10 feet for moderate-sized groupings.
Furniture Arrangement Strategies for Open Living
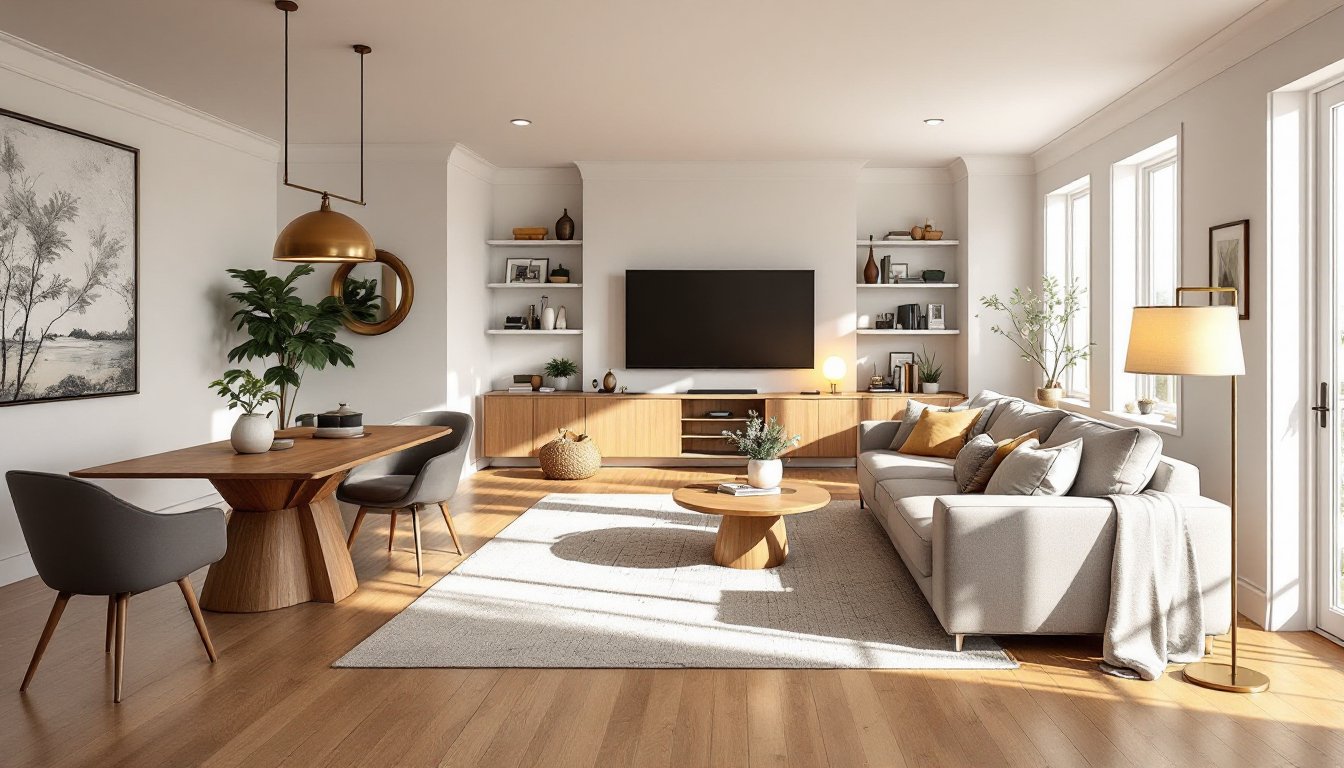
Floating furniture (placing pieces away from walls) creates visual separation and makes zones feel intentional. In open concept, resist the urge to push everything to the perimeter: that wastes space and makes the room feel empty in the center.
Sofa placement anchors most living zones. Position it 8–10 inches from the back to allow passage behind (useful if the room doubles as a throughway) or push it closer to define a tighter zone. If your sofa faces a TV, ensure the viewing distance is 8–12 feet for comfortable sight lines. A console table behind the sofa (if it floats) creates additional storage and a visual boundary.
Sectionals work well in open plans if they’re sized appropriately. An oversized sectional can overwhelm a space and actually break up traffic flow. Measure carefully: a sectional should occupy roughly one-third to one-half of your conversation area, leaving room to walk around it. An L-shaped sectional of 90–100 inches total is typical for mid-sized rooms: confirm your doorways and stairwells allow delivery and maneuvering.
Accent chairs and occasional tables fill gaps and add flexibility. Two chairs facing the sofa create a cozy conversation triangle: a chair angled in a corner suits a reader. Small tables between seating pieces hold drinks and create a cohesive grouping without overcrowding.
For dining, a table with 5–6 feet of clearance on all sides allows comfortable chair pull-out and server passage. If space is tight, a table aligned parallel to the sofa (rather than perpendicular) can work, provided traffic still flows freely.
Choosing the Right Pieces for Your Layout
Scale is critical in open concept. A single oversized sofa can make a large room feel cramped: underfurnishing a big space leaves it feeling hollow. Aim for balance: one larger anchor piece (sofa or sectional) paired with proportional supporting pieces.
Furniture heights matter more in open concept than traditional rooms. Vary heights to create visual interest and maintain sightlines. Mix a low sectional with tall bookshelves or pendant lights: pair a mid-height dining table with a high bar stool. This variation prevents the “low furniture everywhere” monotony that kills open plan appeal.
Leggy furniture (pieces on visible legs rather than full bases) maintains sightlines and makes spaces feel larger. A sofa on legs looks lighter than a skirted one: a dining table with a pedestal base opens up the zone more than a four-leg base. In open concept, every inch of visual transparency counts.
Storage and display pieces (open shelving, consoles, credenzas) function as zone dividers and reduce clutter. A low credenza behind a sofa anchors the living area and provides display space without a full wall. Open shelving in a alcove or along a perimeter wall stores items while keeping zones feeling connected.
Choose materials and colors strategically. Cohesive upholstery, a sofa and chairs in the same neutral, with varying textures, unifies an open space. A dining table that echoes the sofa’s color (warm wood paired with warm upholstery, cool metal with cool tones) ties zones together. Visual coherence makes separate zones feel intentional rather than random.
Lighting, Color, and Visual Balance
Lighting defines zones as powerfully as furniture does. Overhead fixtures illuminate the entire space, but zoned lighting makes each area feel distinct. A pendant light or small chandelier above the dining table anchors that zone: table lamps on side tables flanking the sofa create an intimate conversation area. Task lighting (a floor lamp near a reading chair) adds depth and signals a separate functional area.
Layered lighting also improves functionality. Overhead lighting alone feels harsh and kills the cozy factor. Combine general (overhead or recessed), task (table and floor lamps), and accent lighting (uplights on shelves, picture lights on art) to make zones feel intentional and inviting.
Color cohesion across zones prevents open concept from feeling chaotic. If the sofa is warm gray, echo that gray in the dining chairs or an accent wall visible from the living area. A cohesive palette, warm whites, grays, and natural wood tones, for instance, unifies the entire open space. Accent colors (throw pillows, artwork, a colorful rug) add personality without fragmenting the design.
Use art and mirrors as visual anchors. A large mirror across from a window bounces light and expands perceived space. A gallery wall above a console or console table grounds that zone. These elements work like subtle walls, defining areas without closing them off. Resources like Houzz and home design inspiration sites showcase how successful open plans use color, lighting, and artwork to create cohesion while maintaining separate zones.
Traffic Flow and Practical Spacing Tips
Open concept only works if people can move through it easily. Plan for clear pathways: from the entry to the kitchen, from the seating area to a hallway, from the dining table to the kitchen. These paths should be at least 3 feet wide to feel comfortable: 4–5 feet is ideal if traffic is frequent.
Negative space (empty floor area) is your friend. Resist furnishing every corner. A large, open space with one thoughtfully arranged zone feels more spacious than a room crowded with pieces. Aim to leave 40–50% of the floor as open, unobstructed space.
Measure furniture doorways and calculate the actual usable length after delivery. A sofa marked 90 inches occupies 90 inches of wall or floor space: ensure your pathways account for that. If moving furniture requires removing legs or temporarily relocating other pieces, note it in your plan.
Traffic patterns also guide rug placement. A rug should sit entirely within a zone: rug edges shouldn’t block walkways. If someone must walk around a rug constantly, it’s undersized or positioned poorly. A properly placed rug feels like a boundary you respect, not an obstacle you avoid.
Final check: physically walk your planned layout on paper or use painter’s tape to mark furniture outlines on the floor. This reveals crowding and sightline issues before you move heavy pieces. Professional design resources show that successful open plans prioritize flow as much as aesthetics. Your layout should feel as easy to navigate as it looks intentional.